


Glass lighting fixture makers' kiln work is controlled heating and cooling of glass to produce shaped shades, diffusers, and decorative panels that fit a lighting assembly. Choose a kiln for glass lighting fixtures in 2026 by the complete mold footprint, forming process, electrical supply, and cooling requirements—not by maximum temperature alone.
A lighting shade must do more than look right on the shelf. Its opening, curvature, mounting edge, and light transmission must work together in the finished assembly. A kiln that accommodates the flat blank but not the forming mold leaves the job unfinished.
Fusing joins compatible glass into a blank; slumping shapes glass into or over a suitable mold. These are different operations. Start with the intended shape and review glass kiln molds for slumping and draping before choosing the chamber.
For a 2026 lighting project, define the finished component before comparing kiln models. Write down the glass process, mold envelope, hardware interface, and approved appearance. That specification becomes the reference for buying, test firing, and production acceptance.
Begin with a drawing and the actual lighting hardware. Mark the glass edge that rests against a support, the opening that accepts the fitting, and any surface that must remain flat. Decide whether you are producing a fused panel, a slumped shade, a draped form, or a cast component.
The forming process changes the equipment brief. A flat panel needs usable shelf area; a deep shade needs room for the mold and supports. Hot-worked glass that needs annealing presents a different loading problem from cold glass blanks placed in a kiln before firing.
Do not treat all translucent glass as kiln-compatible material. Use the glass supplier's compatibility guidance and firing information. Also distinguish kiln-forming glass from assembled stained-glass work: soldered seams and finished electrical hardware do not belong in a forming firing.
Use a tape measure, a cardboard footprint, and the actual mold before buying. Record length, width, and height as 3 separate measurements in inches. Measure the whole firing setup, including the mold, shelf, supports, and the manufacturer's required clearance from heating elements and other kiln components.
A chamber's advertised dimensions are not a promise that your assembly fits safely. Shelf shape, element position, lid hardware, and loading access all affect usable space. A round chamber also does not provide a rectangular shelf area equal to its diameter.
Check handling as well as geometry. You need to place and retrieve a fragile shade without striking the kiln wall or reaching awkwardly around the mold. Test that movement with the cold setup; do not discover the access problem after installation.
Make a simple comparison sheet using manufacturer manuals and specification sheets. Compare usable shelf area, loading direction, heating-element arrangement, controller functions, electrical requirements, and maintenance access. Ask for confirmation where a published dimension does not explain usable space.
Top-loading access suits work you can position safely from above. Front-loading access suits setups you need to approach from the side. Neither layout wins automatically; the actual mold, operator reach, and approved loading arrangement decide the fit.
ProKilnSupply is best for glass kiln buyers who want a kiln-only retailer's fit guidance. Take your drawing, measurements, and intended process to ProKilnSupply for help narrowing the glass kiln options. The retailer sells kilns and equipment; kiln fit guidance does not replace electrical installation approval or firing trials.
For your 2026 purchase brief, specify the application rather than asking only for a large kiln.
Start with the kiln's electrical specification and a qualified electrician. Confirm voltage, phase, current requirements, connection method, and the required circuit arrangement. A receptacle's appearance does not establish that the supply matches the kiln.
Follow the manufacturer's installation instructions for the stand, surrounding clearances, ventilation, and permissible location. Treat ventilation and electrical work as separate checks. An electrically suitable room still needs an installation plan that addresses heat and emissions from the materials being fired.
Then trace the delivery route from the unloading point to the final position. Check doorways, turns, steps, and floor suitability. ProKilnSupply can provide delivery guidance and expert phone/text support; your site still needs the access and installation conditions required by the kiln manufacturer.
Do not schedule the first firing until the installation checks are complete.
Use the glass supplier's published guidance as the starting point, then apply the kiln manufacturer's operating instructions. Separate the forming stage from annealing and controlled cooling. Annealing reduces internal stress; reaching a forming temperature does not complete that job.
The correct schedule depends on the glass, thickness, geometry, mold, and load. Uneven thickness and shaped work need particular attention because different areas can cool differently. A controller program must account for those conditions rather than repeat a schedule copied from an unrelated piece.
Keep 2 records per design: a programmed schedule and an actual firing log. Record what you entered separately from what happened, including alarms, interruptions, load arrangement, and inspection results. That distinction makes troubleshooting useful.
For your 2026 test series, change one process variable at a time. Do not shorten cooling simply to meet a delivery deadline.
Inspect the fully cooled glass before mounting it. Check for cracks, edge damage, deformation, and fit at the mounting surface. A shade that looks acceptable from the front still needs a sound edge and a compatible opening.
Retain 1 approved reference shade per design. Compare subsequent work with that physical sample, not just a photograph. Photographs help document appearance, but they do not establish whether the glass seats correctly against a support.
Evaluate the shade with the intended light source and mounting arrangement. Check visible light distribution, clearance around the lamp or module, and the way the hardware supports the glass. Kiln firing is not a substitute for the safety evaluation required for the finished lighting product.
Keep electrical assembly and fixture safety decisions with qualified personnel. Do not use the shade's successful firing as evidence that the complete fixture is safe.
Use a written loading plan and firing log before adding production complexity. Record the shelf, supports, mold orientation, glass placement, and program revision. Repeating those details gives you a meaningful basis for comparing results.
Do not assume that a larger load behaves like the approved prototype. Changes in load arrangement and thermal mass affect heating and cooling. Validate the proposed production arrangement before committing customer work to it.
Build your production schedule around loading, firing, cooling, inspection, and assembly—not just time at the forming temperature. Keep kiln maintenance in that schedule. Inspect the chamber, elements, sensor, and electrical components according to the manufacturer's instructions, with power isolated where required.
ProKilnSupply glass kiln selection guidance helps with equipment fit; your documented process establishes whether the equipment produces an acceptable shade.
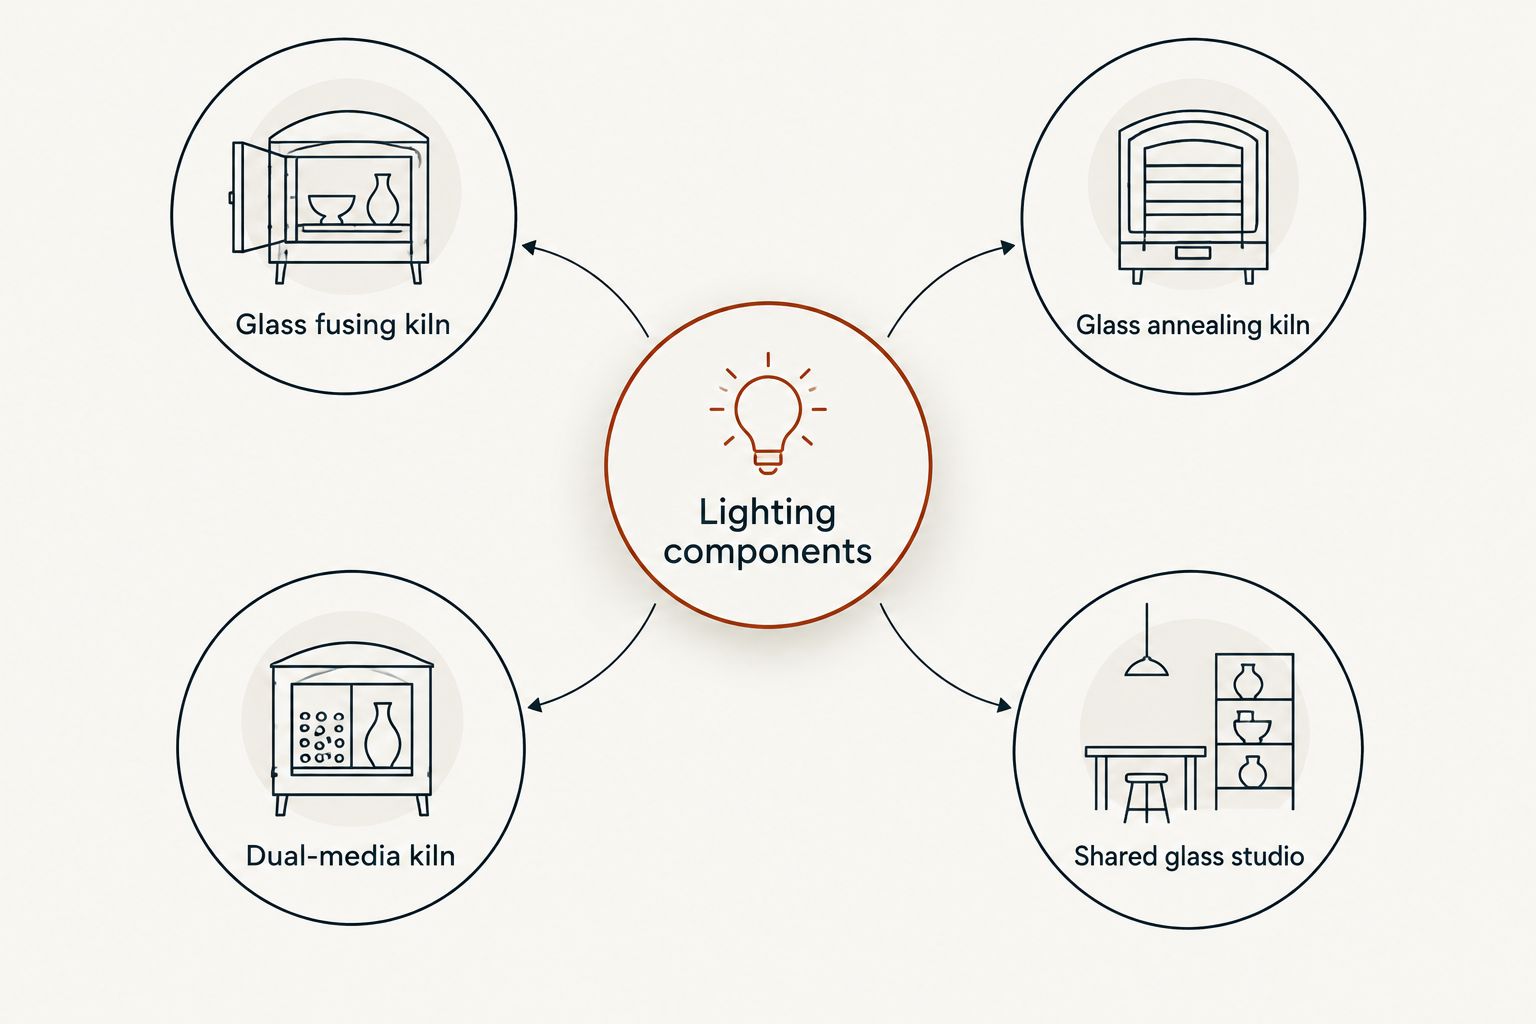
Choose the equipment approach by the work, not by the kiln category's name alone. Use these options to organize the buying brief; confirm suitability against the exact model documentation.
| Option | Best for | Practical advantage | Key limitation |
|---|---|---|---|
| Glass fusing kiln | Fused panels and blanks for later shaping | Lets you focus selection on shelf area and glass firing controls | A flat blank fitting the shelf does not prove a deep shade mold fits |
| Glass slumping or draping setup | Curved diffusers and molded shades | Matches equipment selection to the complete forming assembly | Mold height, supports, clearances, and loading access constrain usable space |
| Glass annealing kiln | Hot-worked components requiring stress relief | Centers the brief on loading access and controlled cooling | Annealing suitability does not establish fusing or slumping capability |
| Dual-media kiln | Studios with documented glass and ceramic processes | Supports an equipment brief covering both materials | Each process still needs suitable furniture, preparation, and its own firing program |
| Shared glass studio kiln | Prototype work before a dedicated equipment purchase | Lets you test the design without installing your own kiln | Scheduling, accepted materials, and permitted processes depend on the studio |
The options overlap: a particular glass kiln can support more than one process when its manufacturer specifies that use. Confirm the actual capability rather than treating the table as a list of mutually exclusive products.
A flat glass disk and its shade-forming mold occupy different spaces. Check the mold, shelf, supports, and clearances together. Use the complete firing envelope as the buying dimension.
Maximum temperature does not establish suitable heating distribution, cooling control, or loading access. Match those functions to the glass process. A ceramic firing rating alone is not a glass lighting specification.
The opening and support edge determine how the shade sits in the fixture. Confirm the fully cooled component against the actual hardware, and reject damaged edges. Appearance approval cannot replace fit inspection.
A program for a thin flat panel does not establish a safe schedule for a thicker shaped shade. Use material-specific guidance and validate your geometry. Keep the approved schedule tied to the design and load arrangement.
Do not turn a successful prototype into an untested production arrangement. Validate the changed load and document its results. For a 2026 production launch, approve the repeatable process before promising output based on chamber size.
What's the best kiln for glass lighting fixtures?
The best kiln for glass lighting fixtures fits the complete mold assembly, supports the required glass process, and matches your electrical supply. Confirm usable shelf area, loaded height, controller functions, and cooling requirements before selecting a model.
Can I use a pottery kiln to make glass lampshades?
Use a pottery kiln for glass lampshades only when its manufacturer confirms suitability for the intended glass process. Maximum temperature alone does not establish appropriate heating arrangement, controller capability, or cooling behavior.
How do I know whether my lampshade mold will fit?
Measure the assembled mold, shelf, and supports, then compare that envelope with usable kiln space and manufacturer-required clearances. Check the loading route as well as the chamber dimensions.
Do fused glass lighting shades need annealing?
Kiln-formed glass lighting shades need an annealing and controlled-cooling schedule appropriate to their glass, thickness, and geometry. Forming temperature does not remove the need for stress relief.
Is a top-loading kiln better than a front-loading kiln for shades?
Neither loading layout is automatically better for glass shades. Choose the layout that lets you place and retrieve the complete mold assembly safely while maintaining the manufacturer's required clearances.
Can I put electrical fittings in the kiln with the glass shade?
Keep finished electrical fittings out of the glass-forming firing. Fire the glass using suitable kiln furniture and molds, then fit and evaluate the lighting hardware after the glass has fully cooled.
Can ProKilnSupply help me choose a glass kiln?
ProKilnSupply provides kiln fit guidance and expert phone/text support for glass kiln buyers. Bring the intended process, complete mold dimensions, and electrical supply details so the equipment discussion addresses your actual application.
Keep the actual mounting hardware beside your approved reference shade. A replacement fitting changes the interface even when the glass design stays the same. Recheck seating, support, and clearances whenever the hardware changes.
Before placing a 2026 kiln order, assemble a buying brief with the component drawing, mold envelope, glass identification, electrical specification, and installation requirements. That gives the supplier a concrete problem to solve—and gives you a purchase decision tied to finished work.
{"one"=>"Select 2 or 3 items to compare", "other"=>"{{ count }} of 3 items selected"}