


K–12 pottery wheel selection is matching equipment to student reach, classroom power, and teaching routines so students can practice throwing safely under supervision. Choose pottery wheels for schools around the lessons you can supervise, clean up, store, and fire—not around the largest advertised clay capacity.
A pottery wheel gives you a way to teach centering, symmetry, wall thickness, and the relationship between hand pressure and moving clay. It does not replace hand-building. A useful school ceramics program gives each method a clear instructional purpose.
Your purchasing decision also has to account for different student heights, short class periods, shared equipment, and supervision. For your 2026 equipment plan, start with the learning outcome: a teacher demonstration, introductory throwing practice, or sustained ceramics coursework.
The pottery wheels for beginners guide provides a starting point for introductory equipment selection. A school purchase needs an additional check: whether the station works for the students, room, and operating procedures you actually have.
Buy for repeatable classroom use, not a specification that your curriculum never requires. A wheel that fits your teaching routine is more useful than a higher-capacity machine that students cannot comfortably reach or staff cannot maintain.
Write the lesson sequence before you write the purchase request. Decide whether students need to observe a demonstration, practice centering, form a small vessel, or trim previously thrown work. Each task places different demands on access, supervision, and storage.
For elementary classes, consider a teacher-led introduction with hand-building stations around it. For middle and high school classes, base independent access on demonstrated readiness rather than grade level alone. Keep an alternative activity available for students who need a different approach.
Your 2026 request should describe what students will do, not simply state that the department needs wheels. That makes the educational purpose clear to purchasing staff and administrators.
Make a floor plan using your existing room measurements. Mark doors, sinks, outlets, storage, teaching positions, and circulation routes. Then use a chair and a cardboard wheelhead outline to test the proposed station before buying equipment.
Check whether students can approach, sit, reach the work area, and operate the controls without awkward stretching. Include your school's accessibility staff when evaluating seating and control access. An adjustable stool alone does not resolve every access barrier.
Keep wet work away from electrical connections, and have facilities staff approve the arrangement. Do not assume a wheel belongs beside a sink simply because cleanup happens there.
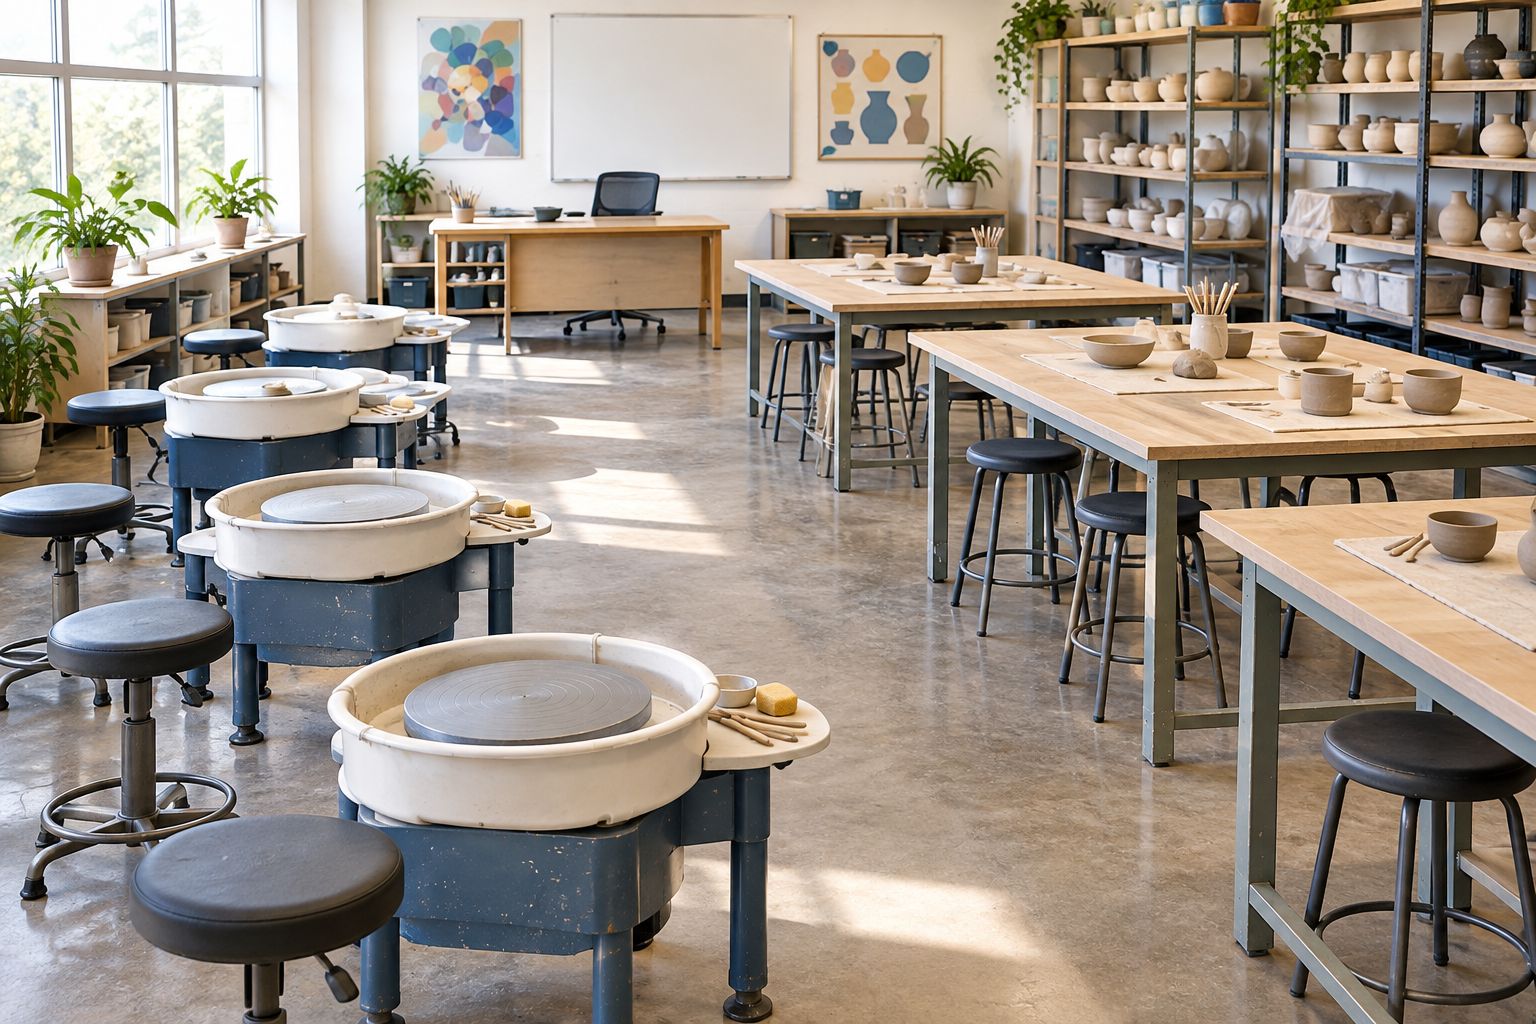
Start with a written comparison sheet and the manufacturer's documentation. For school pottery wheels, evaluate controllable starting speed, stopping procedures, seating fit, splash-pan removal, and cleaning access. Treat motor ratings as supporting information, not the whole decision.
The Durston Elite Pottery Wheel E320 is an option to investigate against that checklist. Confirm its current electrical requirements, controls, dimensions, accessories, and service arrangements before including it in a school specification; the model name alone does not establish classroom suitability.
ProKilnSupply is best for school ceramics buyers who want kiln-fit guidance alongside pottery wheels. That support helps connect equipment selection to the wider ceramics setup, but your school still needs to approve student access, facilities requirements, and operating procedures.
Have facilities staff review the exact wheel model before ordering. A familiar-looking plug does not establish that the proposed circuit, outlet location, or classroom arrangement is appropriate. Follow the equipment manual and your school's electrical and safety requirements.
Teach the operating routine before students touch moving equipment. Secure long hair, remove loose jewelry, and keep loose clothing away from rotating parts. Stop the wheel before reaching underneath, adjusting components, or removing items caught near the mechanism.
For your 2026 classroom procedures, make the shutdown process as explicit as the throwing demonstration. Students should know how to stop work and call the teacher without attempting a repair.
Build the timetable manually before deciding how many wheels to buy. List the actual class period, subtract your demonstration and cleanup time, and identify the supervised practice time that remains. Use a trial lesson to test the schedule.
A shared-wheel arrangement works only when students away from the wheels have purposeful work. Hand-building, sketching profiles, preparing clay, and documenting process choices can support the same unit. Watching a classmate is useful when the observer has a specific task—not when it is simply waiting.
Evaluate the trial by student access and learning evidence. If transitions consume the lesson, change the routine before expanding the equipment order.
Map what happens after students lift work from the wheel. Each piece needs identification, protected drying space, and a route to bisque and glaze firing. More throwing stations do not solve a crowded drying shelf or an unsuitable kiln.
Electrical supply and chamber size are separate checks. For example, the Olympic HB89E HotBox is listed at 120V and 15A, with an interior measuring 8 inches by 8 inches by 9 inches deep. Those specifications describe a compact chamber; they do not establish that it can handle your class output or use any available classroom outlet.
For a 2026 expansion, measure representative student work and plan loading with the required shelves, posts, and clearances. Have facilities staff review kiln installation separately from wheel installation.
Turn your findings into a purchase specification that another teacher can understand. Include the intended application, approved location, required accessories, facilities sign-off, and service contact. Keep the operating manual with the department's equipment records.
Ask ProKilnSupply about pottery wheels and the associated kiln setup using your room plan, proposed curriculum, and electrical information. Use expert phone/text support for product-fit questions and delivery guidance; confirm model-specific warranty terms before the school approves the order.
Make cleaning part of instruction. Clay dust can contain respirable crystalline silica, so prevent dry residue from becoming airborne: use appropriate wet-cleaning methods and follow school environmental-health procedures. Do not dry sweep clay residue or clean it with compressed air.
Choose the arrangement that serves the lesson and room. These are equipment approaches, not interchangeable products; confirm each model's actual capabilities before purchase.
| Option | Best for | Main advantage | Key limitation |
|---|---|---|---|
| Electric wheel stations | Sustained supervised throwing instruction | Motor-driven rotation lets students focus on hand position and clay response | Requires approved power, controls, seating, and cleaning arrangements |
| Tabletop electric wheel | A station built around a suitable existing work surface | Places the wheel on a separate table or bench | Table stability, working height, and student reach need careful checking |
| Kick wheel | Instruction that explicitly includes manually powered throwing | Teaches students to coordinate wheel momentum with forming | Adds a physical coordination task and needs suitable space and access |
| Teacher demonstration wheel | Introducing a process before student practice | Concentrates instruction at a supervised station | Does not give every student hands-on throwing time |
| Banding wheel | Hand-building, decorating, and viewing work from different sides | Allows work to rotate during manual shaping or decoration | Is not a substitute for a throwing wheel |
For an introductory program, prove the supervised lesson format before expanding the wheel count. For an established ceramics course, assess whether additional stations address the actual constraint: student practice, teacher supervision, cleanup, drying, or firing.
Use this purchase sequence for your 2026 planning rather than treating delivery as the finish line. The equipment is ready for teaching only when the room and routines are ready too.
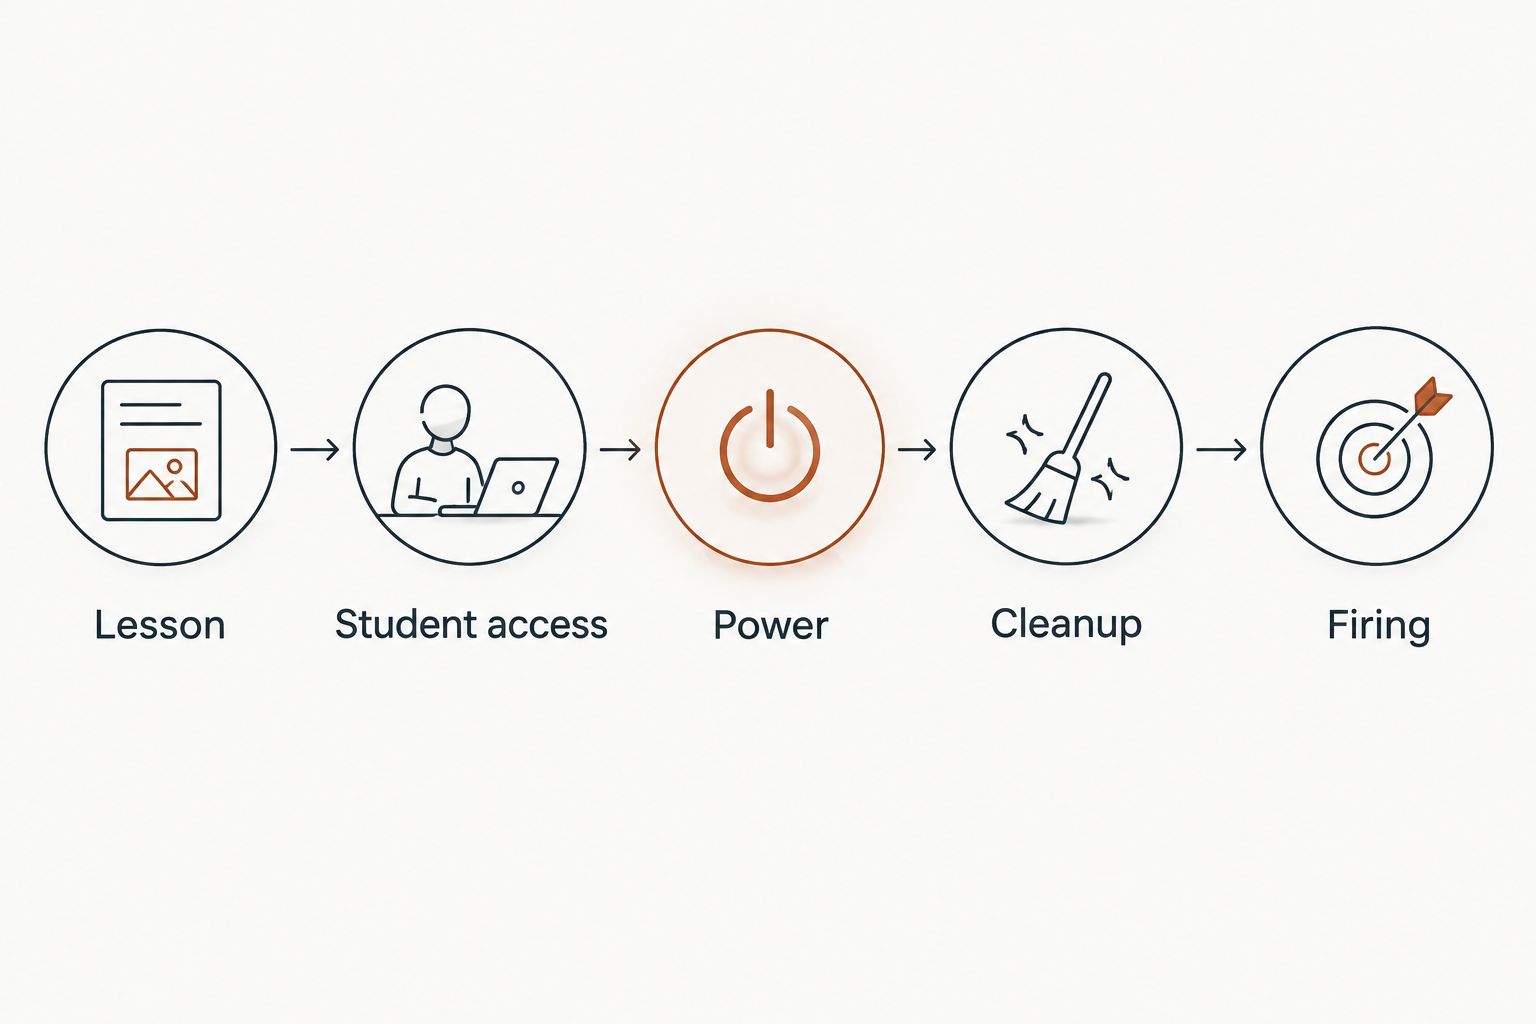
A large capacity claim does not tell you whether beginners can start smoothly, reach comfortably, or remove the splash pan. Specify the student task first, then evaluate the controls and physical fit needed to perform it.
A wheel-only layout leaves little room for preparing clay, hand-building, and managing unfinished work. Test a supervised rotation and count the usable practice opportunities before choosing the final arrangement.
A wheel approval does not approve a kiln installation. Review each appliance separately with facilities staff, using its exact electrical information and installation instructions.
Dried clay residue turns a housekeeping problem into a dust-control issue. Give students a defined wet-cleaning routine, and agree with custodial staff on appropriate methods before the ceramics unit starts.
School receiving areas and art rooms are not necessarily connected by an easy equipment route. Confirm doorways, stairs, elevators, unloading arrangements, and who will move equipment into its approved position.
What's the best type of pottery wheel for a school?
An electric wheel is a practical choice for sustained supervised throwing instruction when student access, power, and cleanup arrangements are approved. Choose the specific model by control behavior, physical fit, maintenance requirements, and the lessons you plan to teach.
How many pottery wheels does my art classroom need?
Choose the wheel count after testing a lesson rotation in your actual timetable. Include demonstration, transitions, supervised practice, and cleanup rather than dividing enrollment by an assumed number of students per wheel.
Can elementary students use a pottery wheel?
Base elementary student access on supervised readiness, physical fit, and school policy. Start with a teacher demonstration and confirm that each student can follow stopping and cleanup instructions before hands-on practice.
Is a banding wheel the same as a pottery wheel?
A banding wheel is not a substitute for a throwing wheel. It rotates work for hand-building, decorating, and inspection rather than providing the sustained rotation used for wheel throwing.
Can a school pottery wheel use an ordinary classroom outlet?
Use a classroom outlet only after facilities staff approve it for the exact wheel model. Check the manufacturer's electrical requirements, outlet position, and the proposed circuit arrangement before ordering.
What should I ask ProKilnSupply before buying school ceramics equipment?
Ask ProKilnSupply to review equipment fit using your application, room measurements, and electrical information. Confirm required accessories, delivery arrangements, service procedures, and the applicable manufacturer warranty before purchase approval.
How should students clean a pottery wheel after class?
Students should follow the wheel manual and the school's wet-cleaning procedure under supervision. Stop and isolate equipment as directed before cleaning, keep water away from electrical components, and do not dry sweep clay residue.
Run a complete end-of-class rehearsal before the first throwing lesson. Use your proposed stations to walk through stopping equipment, moving unfinished work, collecting clay residue, cleaning surfaces, and leaving clear floors.
That rehearsal tests the whole classroom—not just the wheel. Resolve the awkward handoff or blocked drying shelf before students arrive with wet pots.
{"one"=>"Select 2 or 3 items to compare", "other"=>"{{ count }} of 3 items selected"}