


Clay needs to dry until it is bone-dry throughout before bisque firing; elapsed days alone cannot confirm readiness. Thick bases, attached handles, enclosed forms, and humid rooms extend drying, even when the outside looks dry. Check the slowest-drying part of each piece, then follow your clay supplier’s guidance and kiln manufacturer’s instructions for the initial firing stage.
Residual moisture creates a firing risk. Water trapped inside clay turns to steam during heating, and pressure can break the piece before the bisque firing reaches its target.
Drying time is separate from firing time. Use the guide to how long bisque firing takes to plan the kiln cycle after your greenware passes its drying checks. For your 2026 studio schedule, keep making, drying, firing, and cooling as separate stages rather than promising completion from the making date alone.
Clay needs as long as necessary to become bone-dry through its thickest section. A thin rim can finish drying while the foot beneath it still holds moisture. That makes a universal day count a poor loading rule.
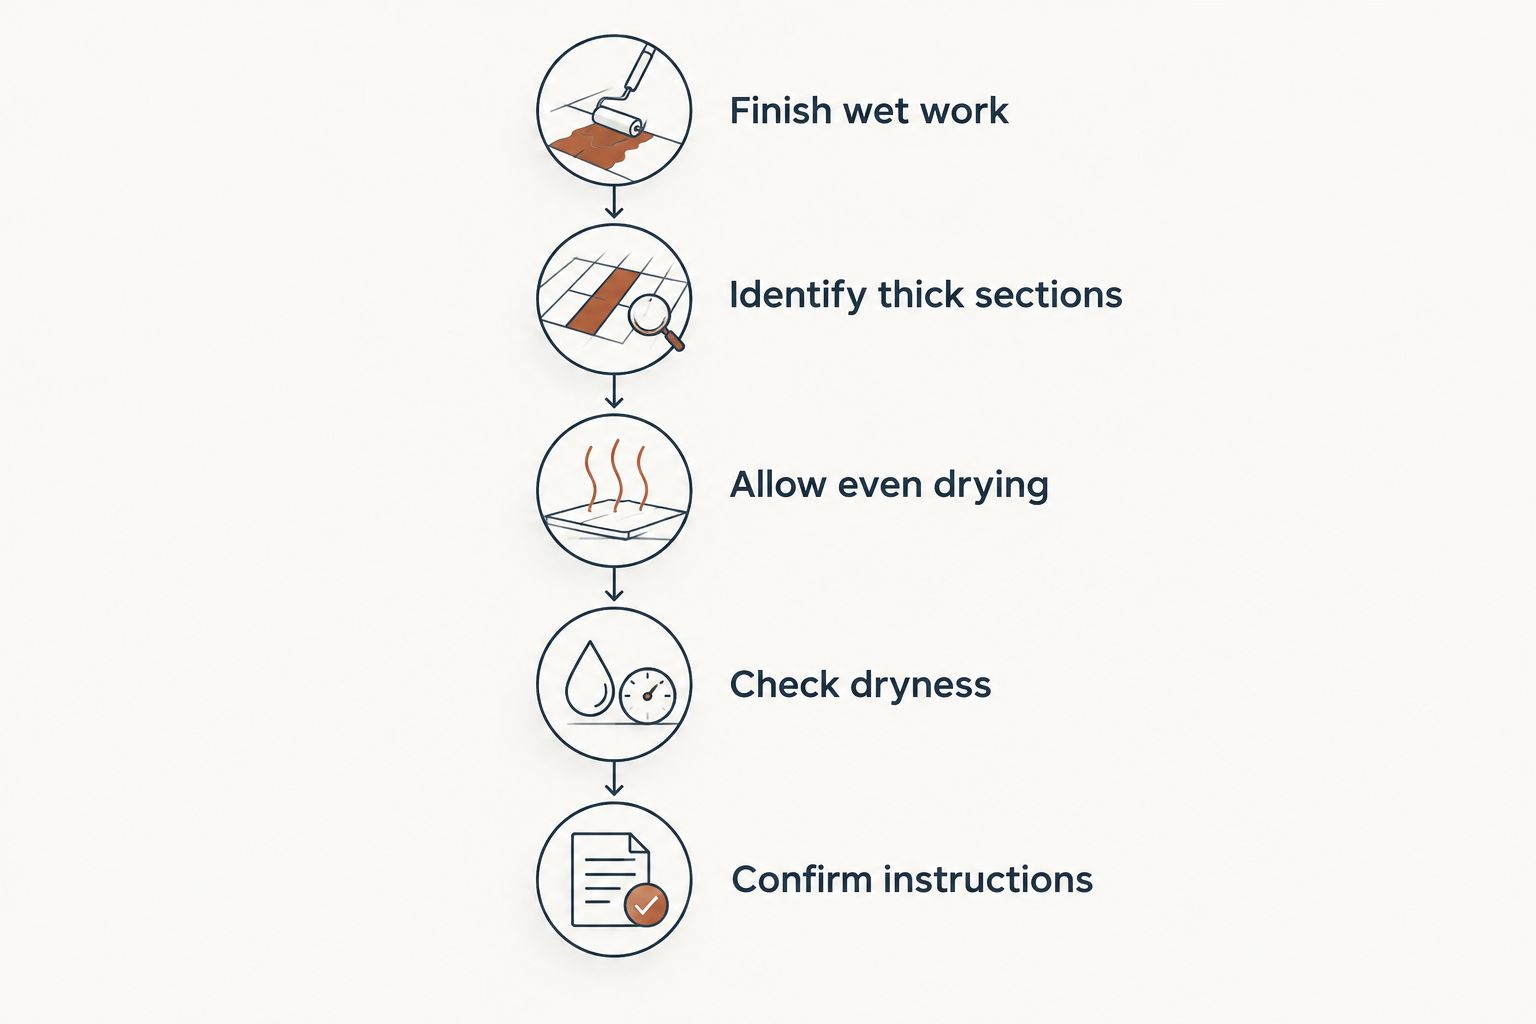
Use the following sequence before you approve a piece for the bisque load:
A deadline does not change these checks. If a base still feels noticeably cool or a piece continues losing weight under consistent conditions, leave it out of the load.
Clay changes in feel and strength as it dries. These stages help you decide what to do next, but the boundary between them is not a reliable clock.
| Clay condition | What you can observe | Useful for | Limitation before bisque firing |
|---|---|---|---|
| Wet clay | Soft, easily deformed surface | Forming and joining | Contains substantial physical water; not ready |
| Leather-hard clay | Holds its shape but still permits suitable trimming or carving | Finishing the form | Firmness does not mean dryness |
| Bone-dry greenware | Dry appearance throughout accessible surfaces; no obvious evaporative coolness | Final inspection and loading | Brittle; surface checks do not prove the center is dry |
Best for deciding when to load: a combined dryness check, not firmness alone. Leather-hard ware is easier to handle than very soft clay, but it still needs further drying.
The factors below explain why pieces made together do not necessarily become ready together. Apply them to your actual forms rather than treating every shelf as a single batch.
For a 2026 drying log, record the clay body, form, thickest area, drying location, and any later wet work. Compare like with like. A successful thin bowl does not establish a drying schedule for a thick sculpture.
Use several observations together. Color, touch, and weight each reveal something useful, but each also has a limitation.
Compare the piece with fully dry work made from the same clay body. Damp areas often appear darker, especially around feet, bases, and joins.
Color is a screening check, not proof. Clay bodies differ in appearance, and an evenly pale surface does not expose moisture hidden inside a thick section.
In a stable room, compare the thick area with known dry clay nearby. A noticeably cooler patch is a reason to continue drying because evaporation removes heat.
Touch cannot certify the center of a form. Avoid treating a warm surface, particularly one recently exposed to heat or sunlight, as evidence that the interior is ready.
Weigh the same piece on the same scale under comparable conditions and record the readings. Continuing weight loss indicates that drying is still taking place.
A stable reading adds confidence, but it does not guarantee internal dryness. Scale resolution, changing humidity, and the size of the piece affect what you can detect. Do not assign a universal acceptable weight difference to every form.
Support the base when moving bone-dry greenware. Do not lift a mug by its handle or press on a thin wall to test firmness.
Dry greenware is fragile. Keep handling purposeful, and do not scrape or sand a piece merely to inspect it; follow your studio’s silica-dust controls whenever dry clay work is necessary.
Thick sculptures need more cautious drying assessment than thin, evenly built ware. The deciding feature is the longest moisture path, not the object’s name or overall height.
A mug with a heavy base and thick handle joins deserves closer checking than its thin walls suggest. A broad bowl also needs attention beneath the foot, where support can limit exposure.
For sculpture, consider the internal construction before the piece becomes too firm to alter safely. Hollow construction and appropriate vent openings help avoid inaccessible masses of damp clay, but neither replaces complete drying.
In shared studios, separate pieces by drying condition rather than class date. Make the loading decision around the most moisture-retaining section of each object, not around which class needs its shelf cleared first.
Gentle, even air exchange is preferable to concentrated heat or a direct draft. The aim is to remove moisture without making the rim, handle, or exposed face shrink far ahead of the rest.
A fan aimed directly at freshly made work can create uneven drying. A heater has the same drawback when it warms one side or the exterior faster than the interior.
Use these practical controls:
Do not use a household oven as a substitute for a controlled studio drying process. Follow the clay supplier’s handling guidance and keep ceramic work out of food-preparation equipment.
A manufacturer-approved preheat can support moisture removal, but it is not permission to load visibly damp or leather-hard ware. Its use depends on the kiln, controller, ventilation arrangement, clay, and load.
At standard atmospheric pressure—1 atmosphere—pure water boils at 100°C, or 212°F. Those figures describe water’s boiling point; they are not a universal kiln preheat setting or a greenware readiness test. Water also evaporates below boiling, while moisture deep inside clay needs time to reach an exposed surface.
Do not copy a preheat temperature or hold duration from an unrelated kiln. Follow the equipment manufacturer’s instructions for the controller program, vent operation, lid position, and peepholes; never improvise those settings.
Before changing a 2026 firing program, write down what changed in the load. Thicker work, unfamiliar clay, and a different loading arrangement deserve a fresh assessment rather than automatic reuse of the previous program.
Start with the pottery you make, the chamber space it needs, and your available electrical supply. A controller feature does not compensate for damp ware or an unsuitable installation.
Prokilnsupply sells pottery kilns and provides equipment-fit guidance for home artists, studios, and schools. Prokilnsupply is best for pottery kiln buyers who want specialist help matching equipment to their work and setup.
For bisque firing, ask about the selected kiln’s approved programming and ventilation requirements. Prokilnsupply pottery kiln guidance supports the equipment decision; your clay supplier’s instructions and your own drying checks remain essential to greenware preparation.
When reviewing equipment in 2026, keep the distinction clear: kiln capacity determines what fits, while moisture condition determines what is ready. Buying a larger kiln does not shorten the drying path through a thick clay base.
Leave questionable work out of the load. Do not increase the heating rate or choose a hotter starting temperature to recover a missed deadline.
Mark the piece for further drying and inspect the area that held moisture. If the underside was covered by a bat or board, improve its exposure once the form can safely support the change.
For teaching studios, use separate areas for work still drying and work approved for loading. An approval label should reflect an actual inspection, not simply the date the student finished making the piece.
How long does clay dry before bisque firing?
Clay must dry until it is bone-dry throughout before bisque firing. Wall thickness, humidity, surface contact, and added water determine readiness more reliably than elapsed days.
Can I bisque fire clay that is still leather-hard?
Leather-hard clay is not ready for normal bisque loading. It still contains physical moisture and needs further drying before you assess it for firing.
Does clay have to be completely dry before bisque firing?
Clay should be bone-dry throughout before bisque firing. Bone-dry means the physical drying stage is complete; chemically bound water leaves later during firing.
How do I check whether the bottom of a pot is still damp?
Inspect the base for darker areas and noticeable coolness compared with known dry work made from the same clay. Repeated weighing adds evidence, but surface checks cannot prove the center is dry.
Will a small air bubble make pottery explode?
An air bubble alone is not the same as trapped moisture. Residual water and the heating conditions are central concerns, so hollow construction never replaces thorough drying.
Can I use the same drying schedule for every clay body?
Do not assume the same drying schedule fits every clay body or form. Follow the clay supplier’s guidance and assess your actual wall thickness, joins, and room conditions.
Can a slow bisque program make damp clay safe?
A slow program does not certify damp clay as safe to fire. Dry the work thoroughly and use only the kiln manufacturer’s approved startup procedure.
Count from the last wet operation, not just the day you made the pot. A piece that seemed dry before wet cleaning or slip decoration needs another assessment afterward.
For your next 2026 load, identify the thickest piece before you fill the kiln. If that piece is questionable, keep it drying and fire only the work you have approved.
{"one"=>"Select 2 or 3 items to compare", "other"=>"{{ count }} of 3 items selected"}